|
| Oooh, nice fence! |
On Tuesday it was cloudy, threatening with rain and the boss was back from hols. Plus Shane and Jayne were in that day so it turned out to be quite a fun day! After the usual cuppa to start the day, we fixed ourselves the job for the day and we were off for pastures new. Old really, as we were continuing the park rail fencing we had started previously before we ran out of uprights.
This had been started as a weekend project for the CNTV (that’s Cambridge National Trust Volunteers to you and me) and a kind of hospital job for us on a Tuesday… or as Shane says: “It takes teamwork to make the dream work!” More of Shane’s colourful phrases later!
Of the first problem we encountered was a new one that had arisen the week before; a padlocked gate. To all those who are thinking ‘surely you have a key for that right?’ well ordinarily we would do. Unfortunately we weren’t counting on the farm to come and put a new lock on with the only key in their pocket so to speak.
 |
| OMG!!! |
I think this
about sums up what we all thought at the time! Credit to kyaangelwing on
Buzznet for the cool graphic. We soon found out that it was done to prove a
point because the buggy driver kept on leaving the gates open when they went up
to the Hall. Apparently it was because if the animals got into the stable block
area, they could wander on to the front lawn.
You would have
thought they’d make it easy for themselves and used the pedestrian gate that’s
always left wide open anyway. I think there was great consternation from many
of the departments and not just us lowly foresters! Rant over, phew I don't usually write something this controversial. I guess it was the hot topic of the day (Thursday), besides I had to write something to justify the cat with the Uzi! (Or
whatever it is).
 |
| Starter kit; instructions not included |
Okay, back to sanity once again. So, you ask, how
do you erect that most stupendous marvelously looking fencing that could stop
a herd of moose? Even better question: Do moose come in herds? Answers on a
postcard, please! Well it all starts as a flat pack in a way, as we pick up the
metal from the local engineering firm (Andy Klose Engineering) all ready
protected and finished in black.
Actually
the black finish is a new addition because we thought it’d speed up the job so
Andy sends it off to be powder coated now. In fact it’s a very new improvement
since you can see some unpainted uprights from the last lot of fencing in some
of the photos! |
| Stop posing Shane and HIT IT! |
First
job is knocking in the uprights. There is a line strung out on the ground, with
white poles as markers so we know where we’re going. You may be able to see the
orange string in some of the photos.
Of course even with
a line to follow it’s very difficult to get the posts spot on and dead straight
all the way down as you’re thumping them.
It is possible
to knock them in on your own (like Shane is doing), but bear in mind that the
thumper itself is a heavy piece of equipment! Shane and I find it more
efficient to use it together, with Jayne providing accurate levelling
measurements every now and then.
 |
| Gently Does it... |
Not forgetting of
course to make sure we have the post in the right way round! Something we have
all done at one point or another! On the odd occasion when we’re threading the
bars though and suddenly realise the slots are in the wrong place!!
If
that ever happens it’s down to the post-puller to get us out of a jam. That’s
the post-puller Mark II by the way as the previous one is still lost in the
woods somewhere (or was it stolen? I forget now).
Despite careful
measurements it’s amazing how wonky the fence looks sometimes! Whether it’s
because we put in the far (double slotted) post in first or not I don’t know.


With the
double in, we then work back to the last completed section. Depending on the
number of adjustments of course, it can be quite quick or really slow!
Level in hand,
it’s a team effort to make sure the post is knocked in relatively straight.
Fine-tuning can often be done later with a bit of extra pulling (or in
desperate cases, the front end of the land rover!).
Usually with comments
like: ‘left a bit’; ‘to you…’ and so forth. Or if you’re really lucky you’ll
get a classic Shane: “A blind man would love to see that”!
Step two, with the posts in and nicely straightened up one way or another it’s now for the fun part and slide in the slats. Naturally if the posts are properly lined up and on the same slope, the slates will slide straight in with little effort. Coining another phrase, “Hole in one”; basically when you push it along and the slat fits straight into the slot first time!
As a special bonus,
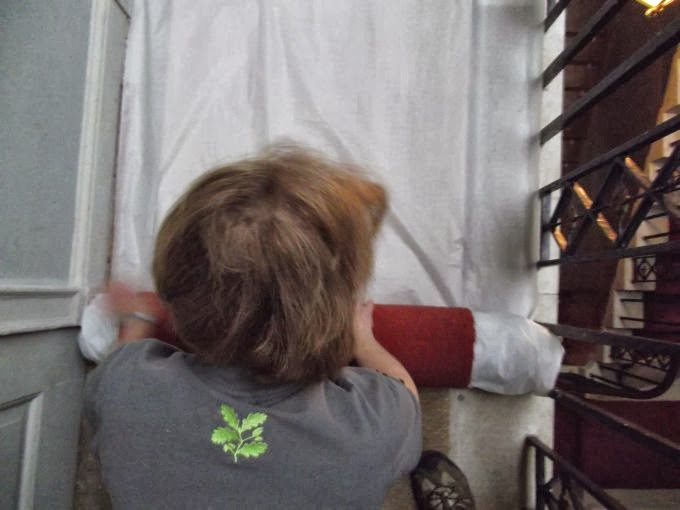
here’s a little caption competition to finish! Enjoy and until next time…
Step two, with the posts in and nicely straightened up one way or another it’s now for the fun part and slide in the slats. Naturally if the posts are properly lined up and on the same slope, the slates will slide straight in with little effort. Coining another phrase, “Hole in one”; basically when you push it along and the slat fits straight into the slot first time!
 |
| I Love it When a Plan Comes Together! |
Bingo! Peasy as
pie!! Slats in and everything nicely lined up and it’s on to the next section.
Rinse and repeat as it were. It’s nice to do the fencing because as we put it
up you can look back and see your progress, to see how far you come in a few
hours!